Configuring a Containerized RAP Server - Step by Step
Introduction
These instructions will lead you through all the necessary steps for setting up a secure, publicly accessible instance of RAP.
A RAP server consists of four core components:
- A MySQL Database
- An API Server
- The RAP Portal Application
- One or more instances of a Workflow Engine daemon.
Additionally, the API Server needs access to a License Server with appropriate product licenses installed.
Finally, unless the installation is entirely trivial and localized to a single device, some form of proxy server is usually required in order to manage access to the services via a URL.
Before starting
Two key decisions need to be made prior to installing a RAP server:
- Location of the database server - do you have an existing MySQL server available within your enterprise, or will you be using a containerized DB?
- Location of the License Server - do you have access to a License Server already, or will you need a containerized instance of one?
Answers to these key points will determine which path you will take through the installation workflow.
You will need a server to host the RAP containers. This document primarily focuses on installing RAP onto a virtualized host.
The following assumptions have been made regarding this RAP installation:
- The host server is running Linux - we're using Ubuntu Server 20.04.4 LTS, but others will likely work.
- The RAP services will be accessed using HTTPS/SSL only, using a CA signed certificate for the host myrapserver.myenterprise.com.
- The services will be exposed on the host myrapserver, and requests will be routed to the server host via the URL myrapserver.myenterprise.com
- The URL to the RAP Server is valid from within the enterprise on the internal network, as well as externally (semantics of how this routing occurs is beyond the scope of this document).
The Host Server
Sizing the host server is not an exact science - we don't know how much data you will be loading into the system. A good place to start would be a VM with 120Gb of disk space and minimum 8Gb RAM. Less memory would be required if the database were to be hosted on a separate server, and generally we would recommend that kind of configuration as it is more secure than the setup being proposed here - we're using a local DB server here in order to simplify the explanation.
Here, we're using a Linux VM running Ubuntu Server 20.04 LTS. This is a headless server with no desktop environment.
The host server will require internet access, a configured SSH server so you can log into the server remotely, and port 443 open on the firewall.
Dependencies
As we will be hosting RAP in Docker containers, the principle dependency will be a working Docker Engine setup. You will need to install a version of Docker CLI that uses Compose V2. Any Docker version released after July 2022 will suffice.
For convenience, make sure the user account you will be using to configure RAP is a member of the docker group, so that you can run docker containers without a sudo requirement.
In order for clients to access RAP from the internet (and potentially intranet), you will need a domain that is resolvable with DNS, and routed to the host server. There are so many ways this can be configured, routing is outside the scope of this document; the main requirement being that requests made from web browsers from both outside and inside your network, need to be routed to the host server.
Getting started
To begin with, log into the host server using SSH, with the user account you are going to use. Create a suitable folder for you to work in.
rapadmin@myrapserver:~$ mkdir rap
rapadmin@myrapserver:~$ cd rap
rapadmin@myrapserver:~/rap$
You will now need to download the RAP deployment pack you are going to use. RAP 3.1 is the current release, so we will be using that.
rapadmin@myrapserver:~/rap$ wget https://downloads.t-plan.com/releases/rap/rap3/tplan-rap-docker-3.2.1-tplan.6032.tar.gz
Unpack the file and review the contents.
rapadmin@myrapserver:~/rap$ tar -xzf tplan-rap-docker-3.2.1-tplan.6032.tar.gz
rapadmin@myrapserver:~/rap$ ls
docker  proxy  README.md  startdemo  startinstance  tplan-rap-docker-3.2.1-tplan.6032.tar.gz
rapadmin@myrapserver:~/rap$
The RAP release code is now ready to be configured.
Instancing
The RAP server consists of several containerized services; up to five, depending on configuration. Each of these sets or stacks we refer to as an "Instance". There are two ways to set up instancing on a RAP host server; Single Instance, or Multi Instance.
Single Instance
This is the simplest way to set up a RAP Server. When running a single instance, all the necessary containers are encapsulated within a single Docker Composition, including an internal reverse proxy for handling routing to the various services within the instance. In this scenario, you would just need a single URL to reach the application, using the two endpoints '/' (for the Portal UI) and "/rap" (for the API).
Multi Instance
Running more than one instance of RAP on a single host is perfectly possible. There are many use-cases that would benefit from such a structure; separation of business groups for example, or running different versions of RAP, side by side.
In this scenario, each instance has its own docker.env file, and each is started with separate calls of the startinstance script.
The main difference with running a Multi Instance RAP host, is in the proxying of incoming requests. Each instance will exist on the same URL, under separate url segments, and the proxy server needs to be able to route the incoming requests to the correct instance. For this reason, when Multi Instancing, you must use an external proxy server; one that exists outside of the Docker Compositions of each instance.
Multi Instancing is an advanced topic, and in this walkthrough we will be setting up a single instance server.
Configuration
Editing "docker.env"
The first stage in configuring the RAP server is to edit the docker.env environment file in the docker directory.
rapadmin@myrapserver:~/rap$ cd docker
rapadmin@myrapserver:~/rap/docker$ nano docker.env
This will open the environment file in the nano editor. If you wish to use a different editor, that's fine - we'll be using nano throughout this walkthrough.
Database Connections
Containerized DB
If you are running your DB as part of the container cluster, you do not need to set the connection strings for RAP or the License Server, and the installed DB will be ready initialized.
Remote DB
If you are using a remote database, then you will need to set one or both of the connection strings in the docker.env file. At the very least, you will need to change the RAPServerDB connection string so that it is valid for the database you are connecting to. You will need to manually create the schema for the database in MySQL, and assign permissions to the MySQL user account to be used in the connection string. The application will initialize the database when first run.
If you are using a containerized License Server, and want to use that with an external DB, you will also need to set the LICServerDB connection string so that it's valid for the database. We support the use of a single MySQL schema for both RAP and License Server databases if that is required.
RAP Urls
Scroll down to the line starting RAPAPIURL, and edit this to set the correct URL; here we'll be using myrapserver.myenterprise.com - you'll need to change this to match your host and domain.
Then change the RAPSERVERPATH to '/rap'. This ensures the API server is hosted at the https://myrapserver.myenterprise.com/rap. URL segment.
Leave everything else in this section as it is.
RAPAPIURL='https://myrapserver.myenterprise.com/rap/api/v3/rap'
RAPSERVERPATH='/rap'
# RAPBASE forms base href in UI; DO NOT PROVIDE LEADING / BUT ALWAYS PROVIDE TRAILING /. To leave default '/', just keep this blank.
RAPBASE=''
RAPSERVERPORT=5000
RAPUIPORT=8181
When would you need to change these settings?
By default, the two RAP services exposed to the world - the main Portal UI, and the API Server - are exposed on the URL segments '/' and '/rap', respectively. If you needed to expose these on a different URL segment, this is where you would change that. So, for example, if you wished to expose RAP inside an "apps" segment, you would change the following:
RAPAPIURL='https://myrapserver.myenterprise.com/apps/rap/api/v3/rap'
RAPSERVERPATH='/apps/rap'
RAPBASE='apps/'
Having made these changes, the Portal UI would be accessed at "https://myrapserver.myenterprise.com/apps", and the API Server would be exposed on "https://myrapserver.myenterprise.com/apps/rap".
License Server settings
You will need two Product Licenses to use RAP and T-Plan Robot. These licenses need to be hosted in a License Server. In this example, we'll be using an internal License Server.
Scroll down to LICSERVERPATH and change it to '/licserver'. This ensures that the internal License Server will be hosted at the url https://myrapserver.myenterprise.com/licserver.
Now edit the LICSERVERURL setting. There's no need to change the base URL here as this is an internal address used by the API Server, and is never exposed outside the container. However, you will need to change the UID of the RAP Server License to that provided to you by T-Plan Ltd. The UID is everything in the URL after the ?lid= part.
Software Versions
Assuming you are using an official release of RAP (currently 3.1), there will be no need to change any of the Docker images referenced in the Docker tags section.
Setting up the Proxy Server
In order to support SSL requests, and expose both RAP services on the same URL, we use an nginx reverse proxy. As we are building a Single Instance server, we can run the instance with its own internal proxy server.
Configuration
To configure the proxy server, begin by changing into the docker folder, and edit the proxy.conf file there.
rapadmin@myrapserver:~/rap$ cd docker
rapadmin@myrapserver:~/rap/docker$ nano proxy.conf
Change the server name from "example.com" to your domain
  server {
    server_name myenterprise.com;

    listen 80;
    listen [::]:80;
    listen 443 ssl;
    listen [::]:443 ssl;

    ssl_certificate /etc/ssl/private/fullchain.pem;
    ssl_certificate_key /etc/ssl/private/privkey.pem;

    include /etc/nginx/conf.d/locations/*.conf;

  }
Save this, and exit the editor.
Next, we need to copy the License Server route to the locations folder. If you are not using an internal License Server, then this should be left out of the locations directory (the default), but as we are using an internal License Server, we need it in there.
rapadmin@myrapserver:~/rap/docker$ cp licserver.conf ./locations/.
rapadmin@myrapserver:~/rap/docker$
Now copy your SSL certificates into the certs directory. The server requires two files here - privkey.pem, which is the private key for the certificate, and fullchain.pem which needs to be the SSL certificate containing the full CA chain.
rapadmin@myrapserver:~/rap/docker$ ls certs
fullchain.pem  privkey.pem
rapadmin@myrapserver:~/rap/docker$
This completes the configuration of the proxy server, and the server should now be ready for start-up.
First run and Initialization
Starting the server
To start the server, run the startinstance script like this:
rapadmin@myrapserver:~/rap$ ./startinstance -p -f docker/docker.env -n myrap
This will start the server instance, using the docker.env file you edited earlier, calling the instance (in this case) "myrap". You can call the instance what you like here, this is really only relevant when you are running multi instance servers and need to be able to tell containers apart.
All being well, this will pull all the necessary images from the T-Plan Dockerhub, and start them all up.
Creating myrap_dbserver_1  ... done
Creating myrap_wfe_1       ... done
Creating myrap_licserver_1 ... done
Creating myrap_portal_1    ... done
Creating myrap_apiserver_1 ... done
Creating myrap_ngproxy_1   ... done
Initializing the License Server
Now that the server instance has started, we can initialize the apps, starting with the License Server.
Open a browser, and navigate to the License Server URL. In this example, it's at https://myrapserver.myenterprise.com/licserver. The system will need initializing - just press the Initialize button to complete this step
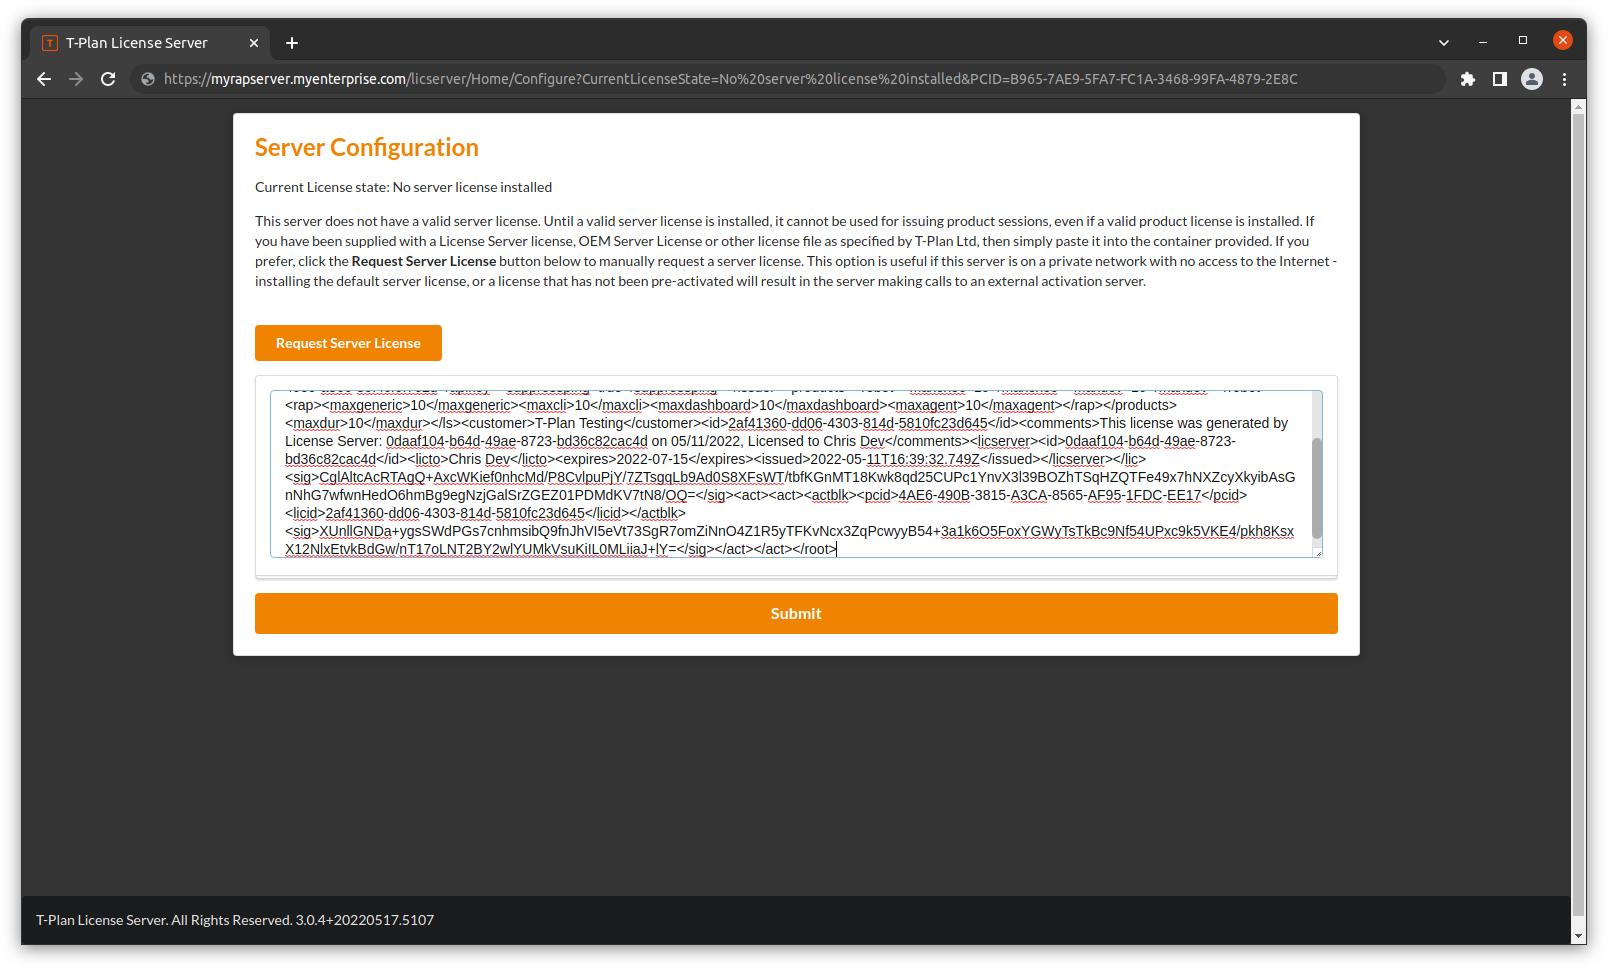
Now paste your server license in to the space provided.
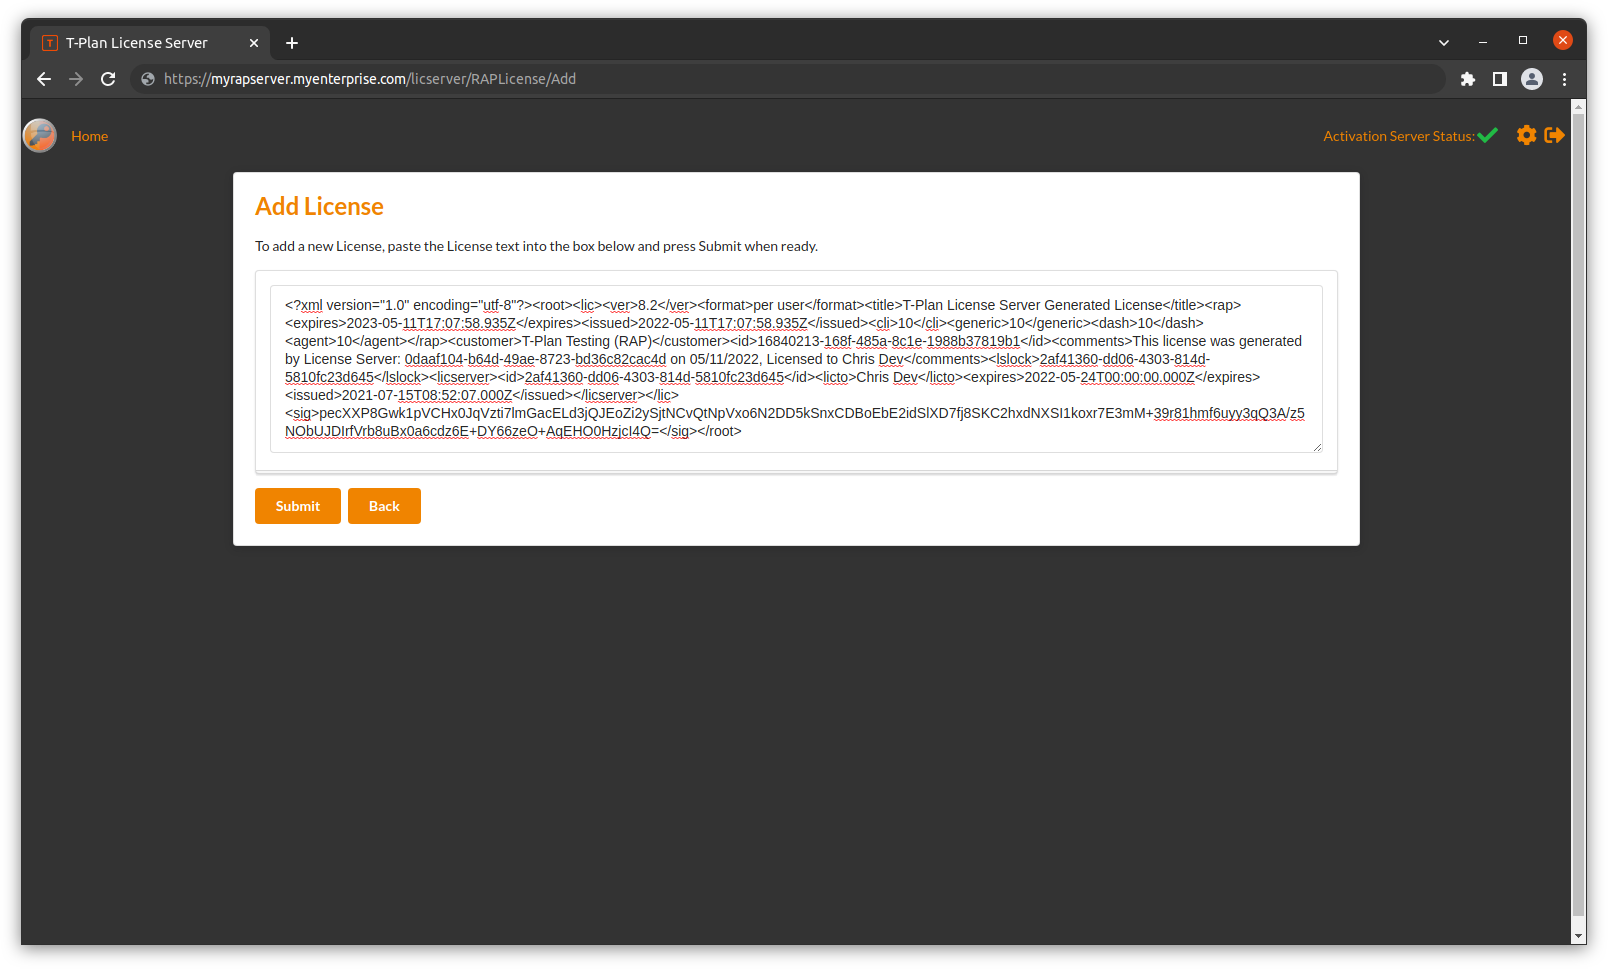
You will be shown the credentials to use to log into the server. Now log in, and open the RAP Licenses tab. Click on Add License, and paste your RAP License into the space provided.
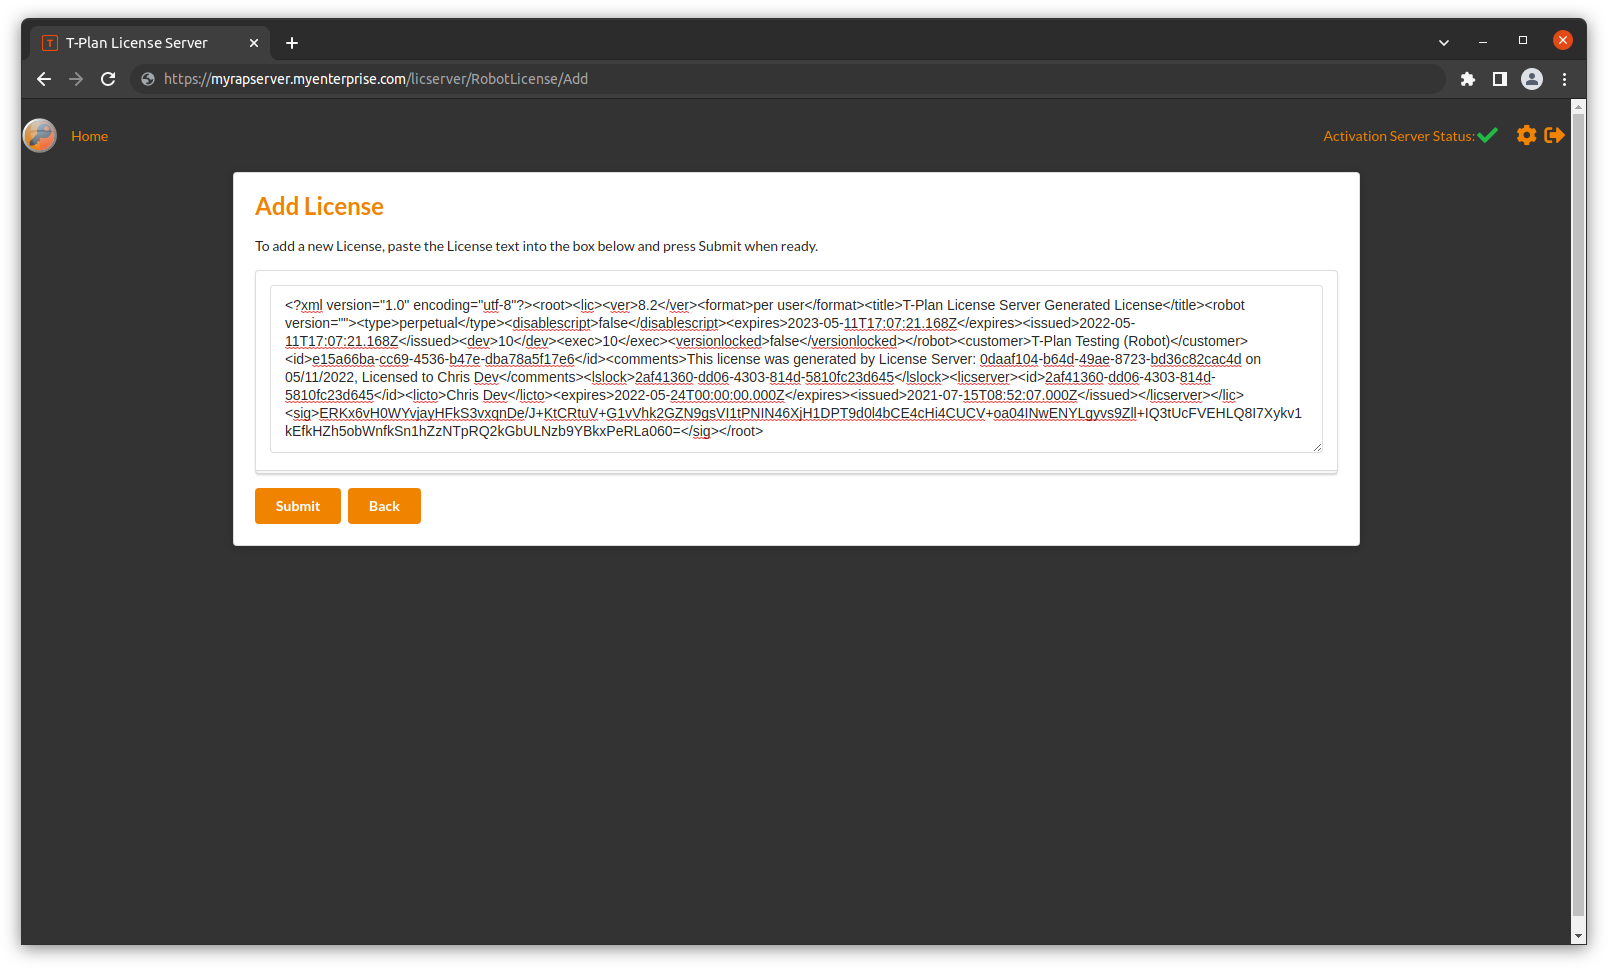
Submit this, then open the Robot Licenses Tab, click on Add License and paste your Robot License in to the space provided.
This completes the License Server configuration.
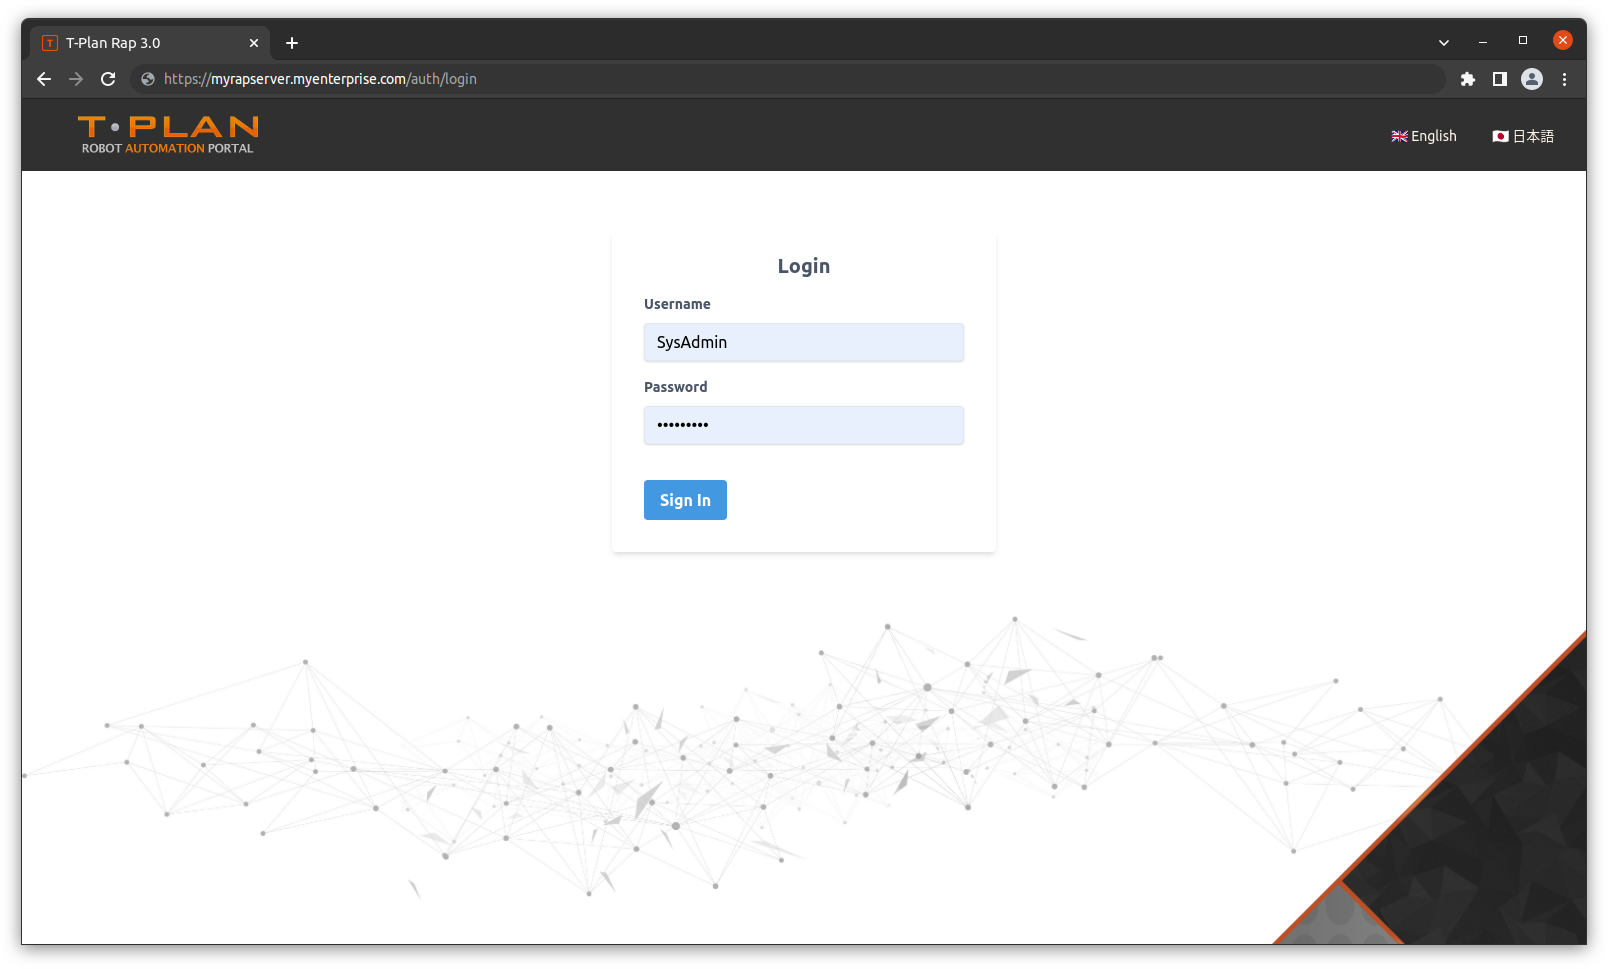
You should now be able to log into RAP. Navigate to the Portal URL. In this example, it's at https://myrapserver.myenterprise.com/.
Enter the default admin credentials - User: SysAdmin, Password: sysadmin1, and you should be logged in and ready to go!


