Running the Agent
1. Agent Modes
The agent can be started and operated in two modes:
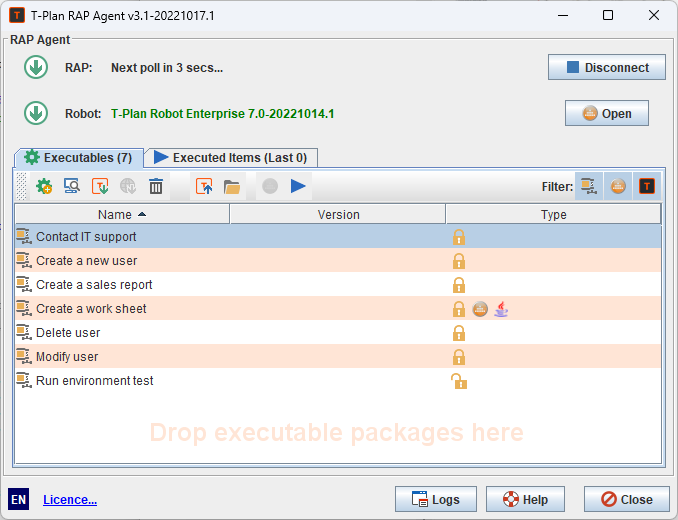
- Desktop application (GUI) mode:
- The the Agent GUI window is on as is shown throughout the Setting up the Agent page.
- To achieve this start the agent through the installed system menu or using the start scripts of
agent.bat(MS Windows) oragent.sh(Mac OS X, Unix/Linux). - The Agent UI can also minimize to the system tray on systems that support it.
- For details on the GUI start up on particular systems see the Getting the Agent page.
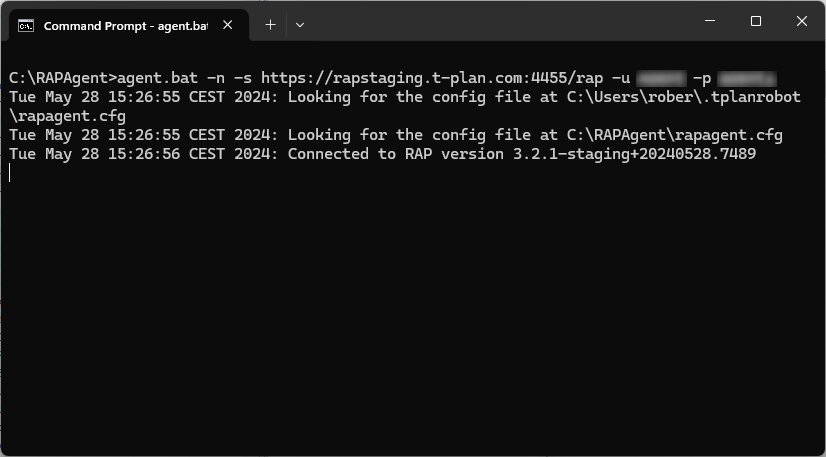
- Command line (CLI) mode:
- The Agent runs in the background without creating any GUI elements.
- This mode is required to run the agent as a Windows Service or on headless systems such as remote calls via
telnetorrsh. - To enter the mode put the
-nor--nodisplayCLI option into the start command. For details see the CLI Options chapter below. - To configure the agent with the necessary RAP address and credentials described in the Setting up the Agent page use the appropriate CLI options. Where possible you may also configure the Agent in the GUI and then restart it in the CLI mode to pick up the properties from the configuration file.
IMPORTANT: Agent running in the CLI mode can not run automation based on the Local Desktop connection. This is because this connection relies on existence of a local graphical environment which is not available on headless environments or to processes running as a Windows Service.
2. CLI Options
The start scripts of agent.bat (MS Windows) and agent.sh (Mac OS X, Unix/Linux) accept the following list of options.
CLI options have higher priority than the configuration file. If you for example set the server address via the -s option it will override the server address in the config file.
-h, --help
Display the list of supported options and exit.
-n, --nodisplay
Start in the CLI mode (without the GUI). Unless the RAP server address and credentials are in the configuration file the -s, -u and -p options must be set for a successful connection.
-s [address], --server [address]
The RAP server address and port, for example http://myrap.mydomain.com:4455/rap
-u [username], --user [username]
The RAP server user name.
-p [password], --password [password]
The RAP server password.
-t, --tray
Show the Agent icon in the system tray.
--poll [seconds]
The RAP poll time in seconds. The default value is 10 (seconds).
--proxy-server [address]
The proxy server address.
--proxy-type [HTTP|SOCKS]
The proxy server type, either "HTTP" for HTTP/FTP or "SOCKS".
--proxy-user [username]
The proxy server user.
--proxy-password [password]
The proxy server password.
--robot-path [path]
The T-Plan Robot home (installation path). i.e. the folder that contains the robot.sh and robot.bat files (MS Windows, Linux/Unix) or the Robot Mac application path.
--robot-options "[options]"
The list of CLI options to be passed to T-Plan Robot.
--debug
Debug mode (print logs to the log and the calling terminal).