takescreenshot
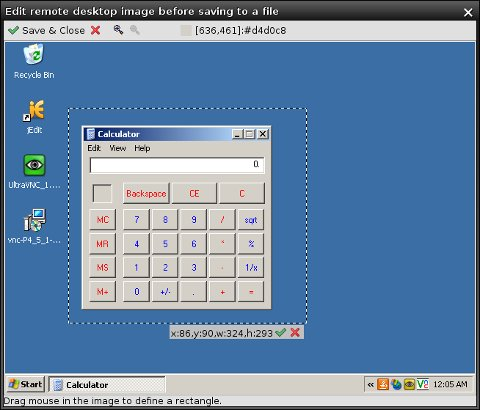
Take A Screenshot Window
This is a simple window allowing to save the current remote desktop image displayed in the Desktop Viewer or its part to a file. To open it select Tools -> Take a Screenshot in the main GUI menu.
The window initially opens a copy of the remote desktop image in an image editing window. It is in fact the same component used for template editing in the Screenshot, CompareTo and WaitFor windows. To define a rectangular crop area simply drag your mouse in the image from the start point to the end point. An already defined rectangle can be further on modified through dragging of the border lines. If no crop rectangle is defined, the window saves the full desktop image.
Once you are satisfied with the image selection, either click the Save & Close button or the green tick icon below the rectangle (if defined). A file browser is displayed and you have to enter a file name with valid image extension.
Target image format is determined by the file extension. If you want to save an image for example in JPEG format, you must enter a file name which has a .jpg or .jpeg extension. Available image formats depend on your Java version. Java 6 supports by default BMP, GIF, JPEG, JPG, PNG and WBMP formats. If your Java instance has additional libraries installed such as JAI (Java Advanced Imaging), it may support additional formats. To find out which image formats are supported by your particular environment open the Help->About window, select the System Information tab and review content of the Supported Image Formats field.
As this window uses internally functionality of the Screenshot command plugin, additional settings may apply to the saved image, such as for example the JPEG image quality. To find out what is available review the Screenshot Command configuration in the Preferences window, in particular the Image Encoding Preferences group.

